Repairing Trombone Slide Action
I’ve had several requests to compose a page in my Mechanics section on repairing trombone slide action. It’s a complicated topic and I suspect that I will come back and edit as I think of details that I’ve left out and I’m always open to suggestions. Keep in mind that it takes many hours of practice to learn these skills, but I’m hoping that my suggestions below might make your journey less bumpy than my own.
I’ve found repairing trombone slides a very difficult thing to learn, taking years of slow progress. When I was 17 and first learning to repair brass instruments, it was one of the first skills that I spent time attempting. That first year, it seemed that almost half of my attempts resulted in a slide with an action that was worse than when I started. Into my third year, I was able to make satisfactory improvements in about 4 our of 5 without backsliding, but found this very frustrating and an unacceptable success rate.
I visited both Burt Herrick and Larry Minick in my early years and got little bits of advice to take back to my shop. This was big help and Larry stressed that I need to get the tubes as clean as possible before starting. Clean them and then clean them again. He said that after getting them clean, he would put a piece of Scotch-Brite in the loop of a cleaning rod and vigorously polish the inside of the outer tubes with plenty of water. This will clean out the final bit of corrosion and mineral build up. In the 1st photo, you can see that I rounded the corners of the end of the rod. The next shows a clamp on the rod that limits the insertion, preventing damage to the end crook. After this treatment, be sure to flush it out again and dry the assembly thoroughly.

Scotchbrite pad in cleaning rod.

Cable clamp used as a stop to prevent running cleaning rod into slide crook.
Evaluate the condition of all the tubes, looking for dents, bends, loose solder joints and previous repairs. This includes determining how parallel the outside tubes are. Lay the assembly on your straightening block to determine any wobble and measure the distance at the bottom and top. This is almost never exact, but should be less than .005”. If a previous repair attempt has resulted in outside tubes that are well out of being parallel, it would be best to remove the crook and straighten the tubes separately before remounting it. Adjust the brace as needed to make the tubes parallel. Then straighten the tubes again.

Measuring distance between tubes to be compared with same measurement at other end.
There will usually be some dents in the slide crook. Ask the customer if he/she wants to pay to have the dents removed. If you aren’t otherwise going to remove the crook, this will adda bit to the repair cost.
I also ask the customer if his/her slide was ever a really good slide. Some slides have manufacturing flaws or previous damage that cannot be completely remedied without replacing one or more tubes. The most common is the tolerance between the inside and outside tubes being too close. Some slides can seem to work just fine with tolerances as close as .006”, but I find that it is more often necessary to have .008”. The symptom is a slide that feels perfectly smooth and free when dry and even when first lubricated, but once being played for a few seconds or even a few minutes, the player will suddenly feel resistance in movement. What is happening, is that the surface tension of the water in between the tubes is preventing them from skimming past one another. I visualize it (although not technically correct) as beads of water tubes acting as ball bearings, efficiently rolling between the tubes. Regardless, there needs to be enough clearance for water/slide cream combination to work as a good lubricant.
Mass produced parts should be interchangeable, but I believe that the problem most often occurs in the plating process. Before the thin layer of chrome plating is applied to the inside tubes, they are plated with a hard, bright nickel. If the nickel is built up too thickly, it will cause this problem. It can be difficult to get the parts department of a manufacture to measure the tubes before they send them and I have had to send more than a few back first. Eventually, they will be grateful to know about the problem.
If there are any dents in the outside tubes, place them on a steel rod closest to the diameter and burnish the dents as in the next photo. I find it helpful to burnish all the way around after working on the dent, which will bring the tube somewhat back to round. A dent roller works for this as well, but is harder to work all the way around. The dents will never disappear because outside slide tubes are almost always drawn close to spring hardness. Hammering on these dents will only result in a bulge, which not only looks bad, but makes subsequent straightening much more difficult. Burnishing alone will bring the dent up enough to clear the inside tubes, even while still visible.

Burnishing dent or low spot.
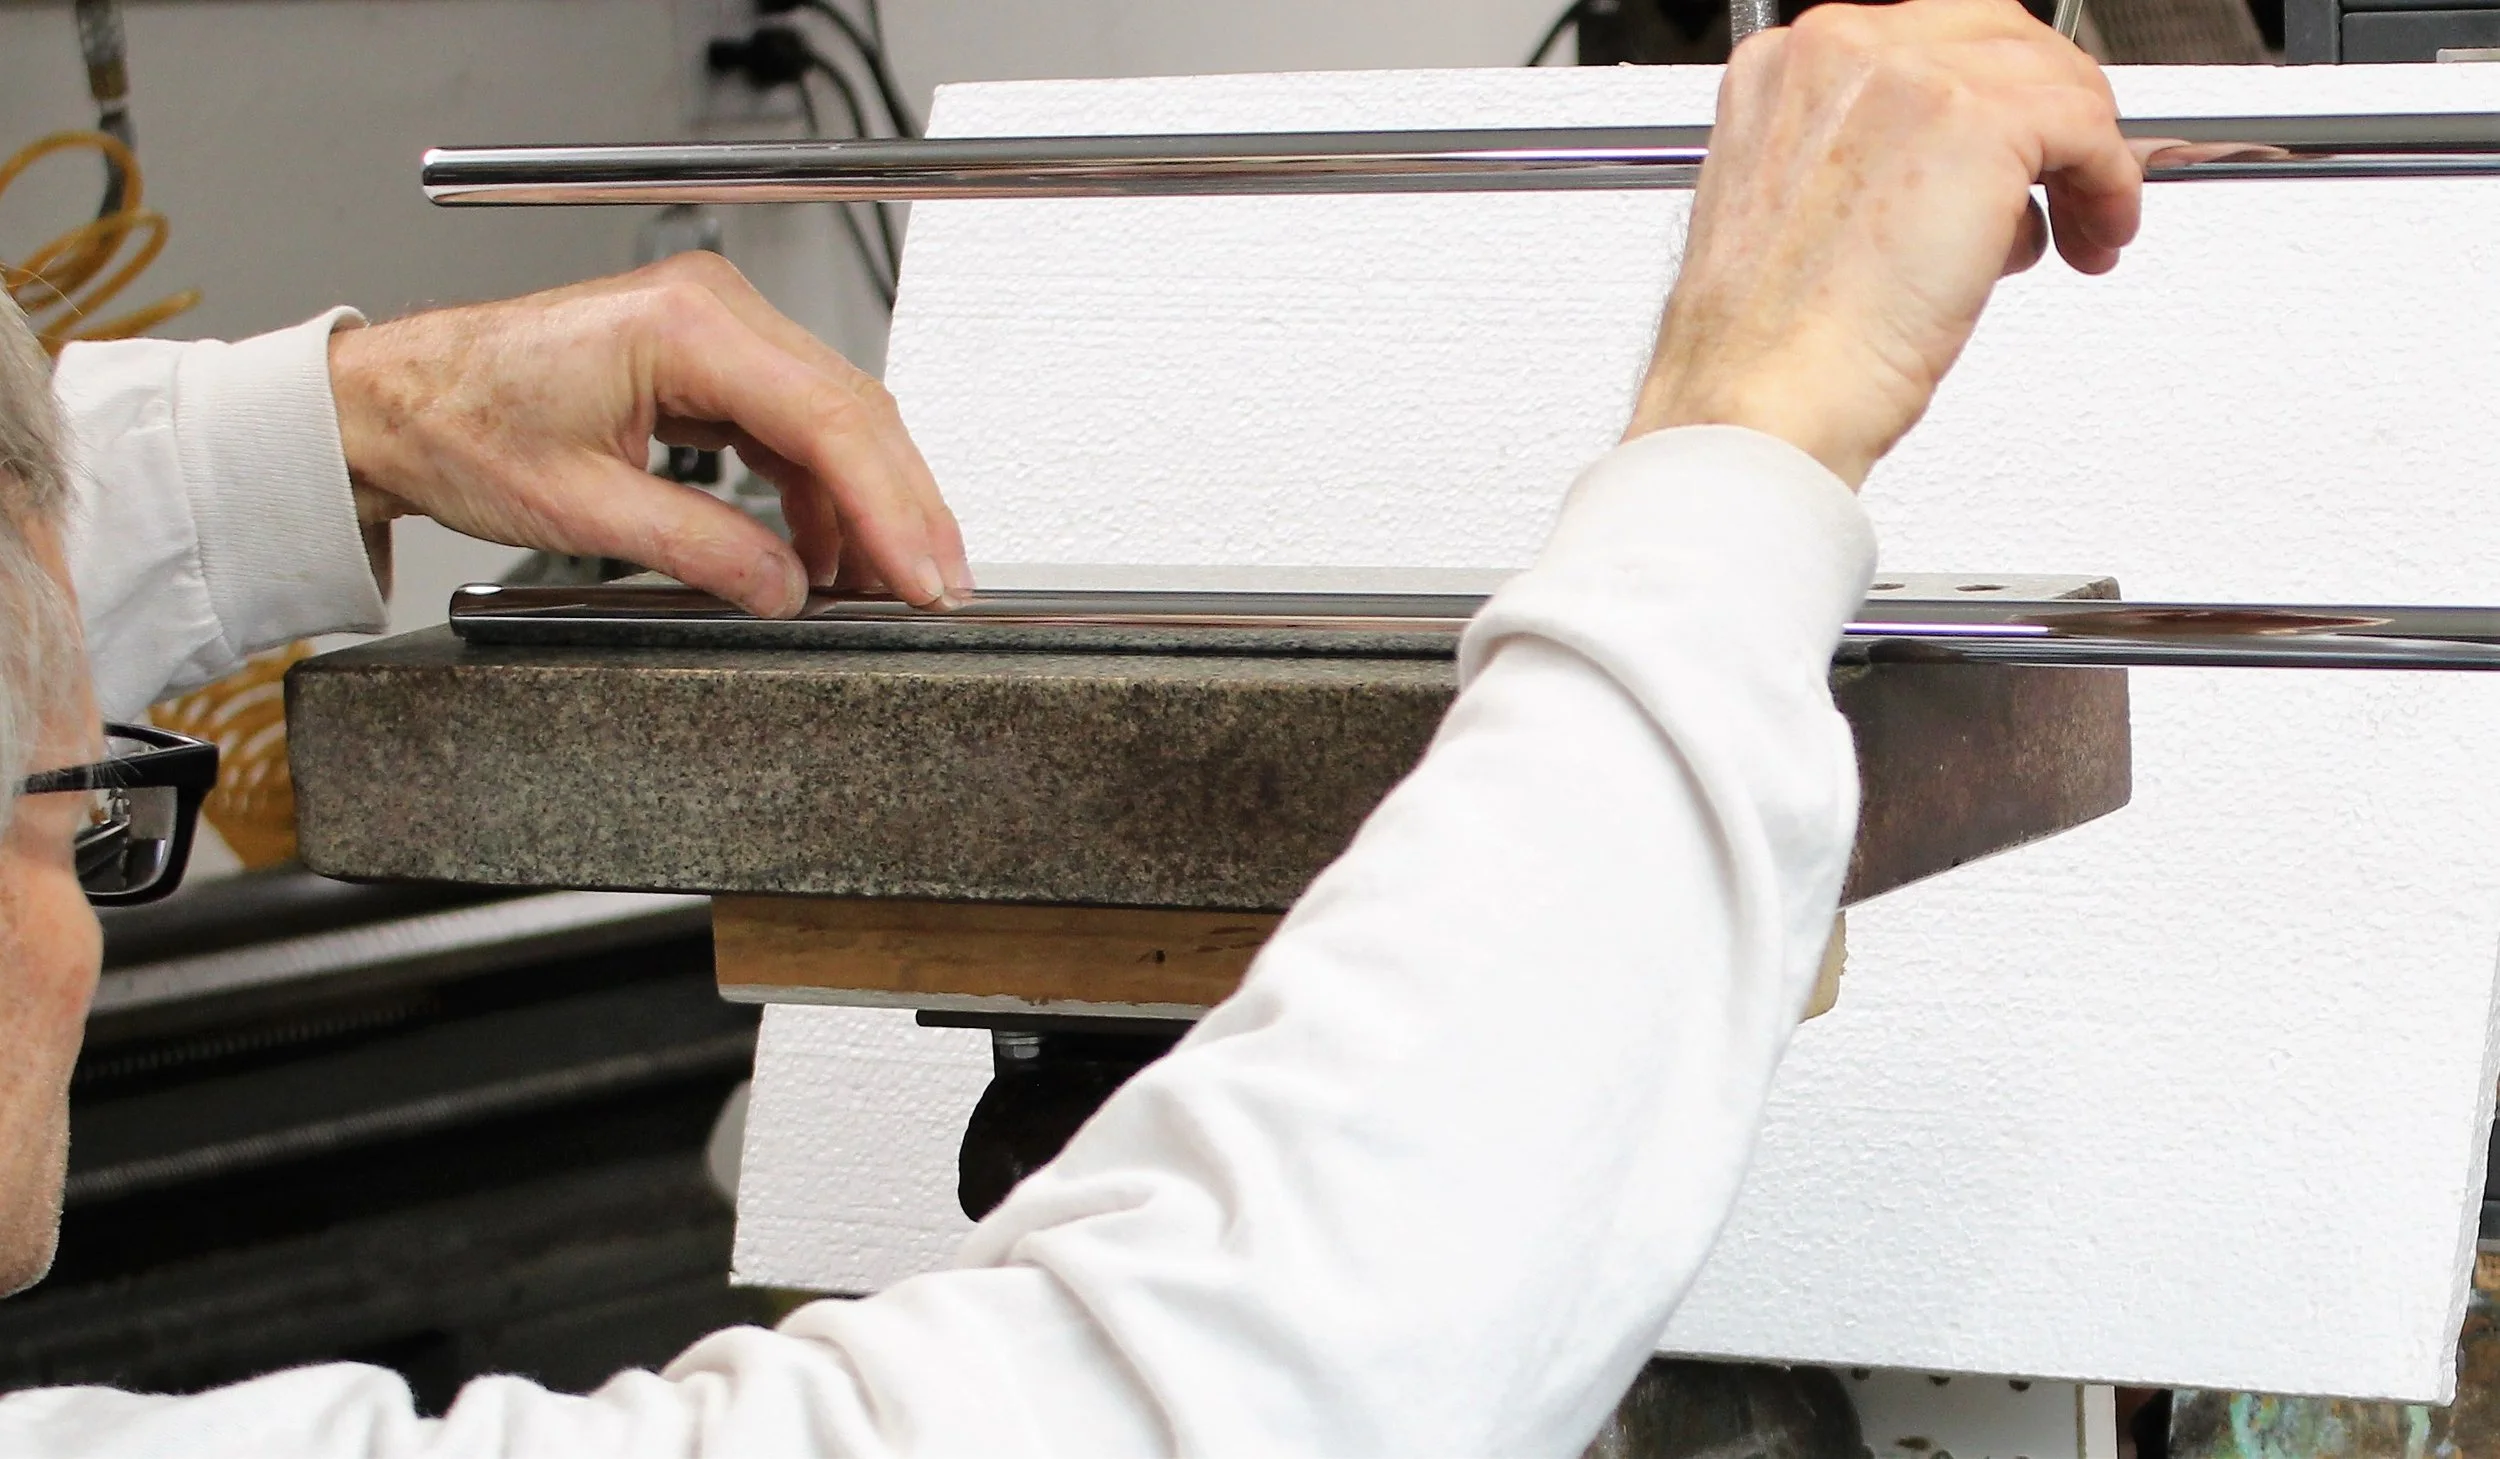
If you don’t have a white wall just behind your straightening surface, place a white board or paper behind it. In the photos, you can see that I’ve used a foam board.

White board behind straightening stone.
You will then be able to clearly see the high and low spots in the tubes as you can see in the next photo.

High spot seen against flat stone.
Below, notice that I have a steel rod mounted below the bench height and easily reached from my position in front of the flat surface. For this, I use a 1/2” hardened steel (aloy 4140) with the end rounded. These are available from industrial suppliers, such as McMaster Carr. Unfortunately, these are not available in the other fractional sizes that we need for burnishing trombone slide tubes, but I find that the 1/2” rod works well for this purpose.

Looking for low and high spots with 1/2” rod mounted within easy reach.
When straightening the outer tubes, start out with a gentle touch, some tubes are much less springy and give much more easily than others. Always pay attention to areas that are out of round. A low spot can be brought up by pushing against the rounded end of the rod, seen in the next photo. lubricate the inside of the tubes and the rod with Ivory bar soap or other lubricant to avoid galling.

Pushing up low spot with the end of steel rod.
The next photo shows the opposite, pushing on a high spot with the soft spot below the kneecap. The thumbs alone can be used for this, but mine have suffered too much abuse. Evan with careful work, you may find that you’ve caused a slight flat from this treatment. Go back to the steel rod to bring this back up.

Straightening by pushing on high spot with knee.
A slight curve in the tube that doesn’t involve the tubing being out of round, can be gently straightened by pushing the center with the hand with outer ends on the thighs.

Straightening long section of tube.
Typically, I will straighten the tubes by first checking one side, then rotating 180 degrees, then 90 degrees and then 180 degrees again. I check and then recheck these angles and then rotate in between to see if I can detect that the tubes are out of round or curved in ways that can’t be detected by the initial straightening. Then I check all the angles again. You may find procedures that work better for you, but most importantly, be patient, knowing that careful practice will inform you more than my words.
After straightening the second tube of the outer slide assembly, return to the first tube and check it again. Without the crook removed, straightening second tube will often effect the straightness of the first. Also, you may find flat areas that are just not responding to this treatment, especially on springier tubes. Try burnishing the low areas again to bring them up and then straighten the tubes again. Taking the time needed will pay in the long run.
At this point, I clean the outside slide assembly of the soap that I’ve applied. Then spray a bit of WD-40, kerosene or valve oil on a clean rag in the cleaning rod and work it vigorously, to give it a final polish.
Straighten the inside slide tubes in a similar manner. You will find that the absolute straightness of the inside tubes is less important to the action of the slide, but still should be fairly straight. Don’t neglect checking the stockings for straightness . This is much more important to the slide action than the straightness of the smaller diameter portion of the inside tubes.
Checking straightness of slide stocking.
Check how the ends of the inside slide assembly line up with the outside by carefully inserting them. Bend the brace as needed to get this close. In the photo below, I am checking how parallel the inside tubes are to the outside tubes by inserting one side and sighting the others. Flip it around and compare how it looks on the other side and adjust as necessary until they are the same, indicating that they are parallel.
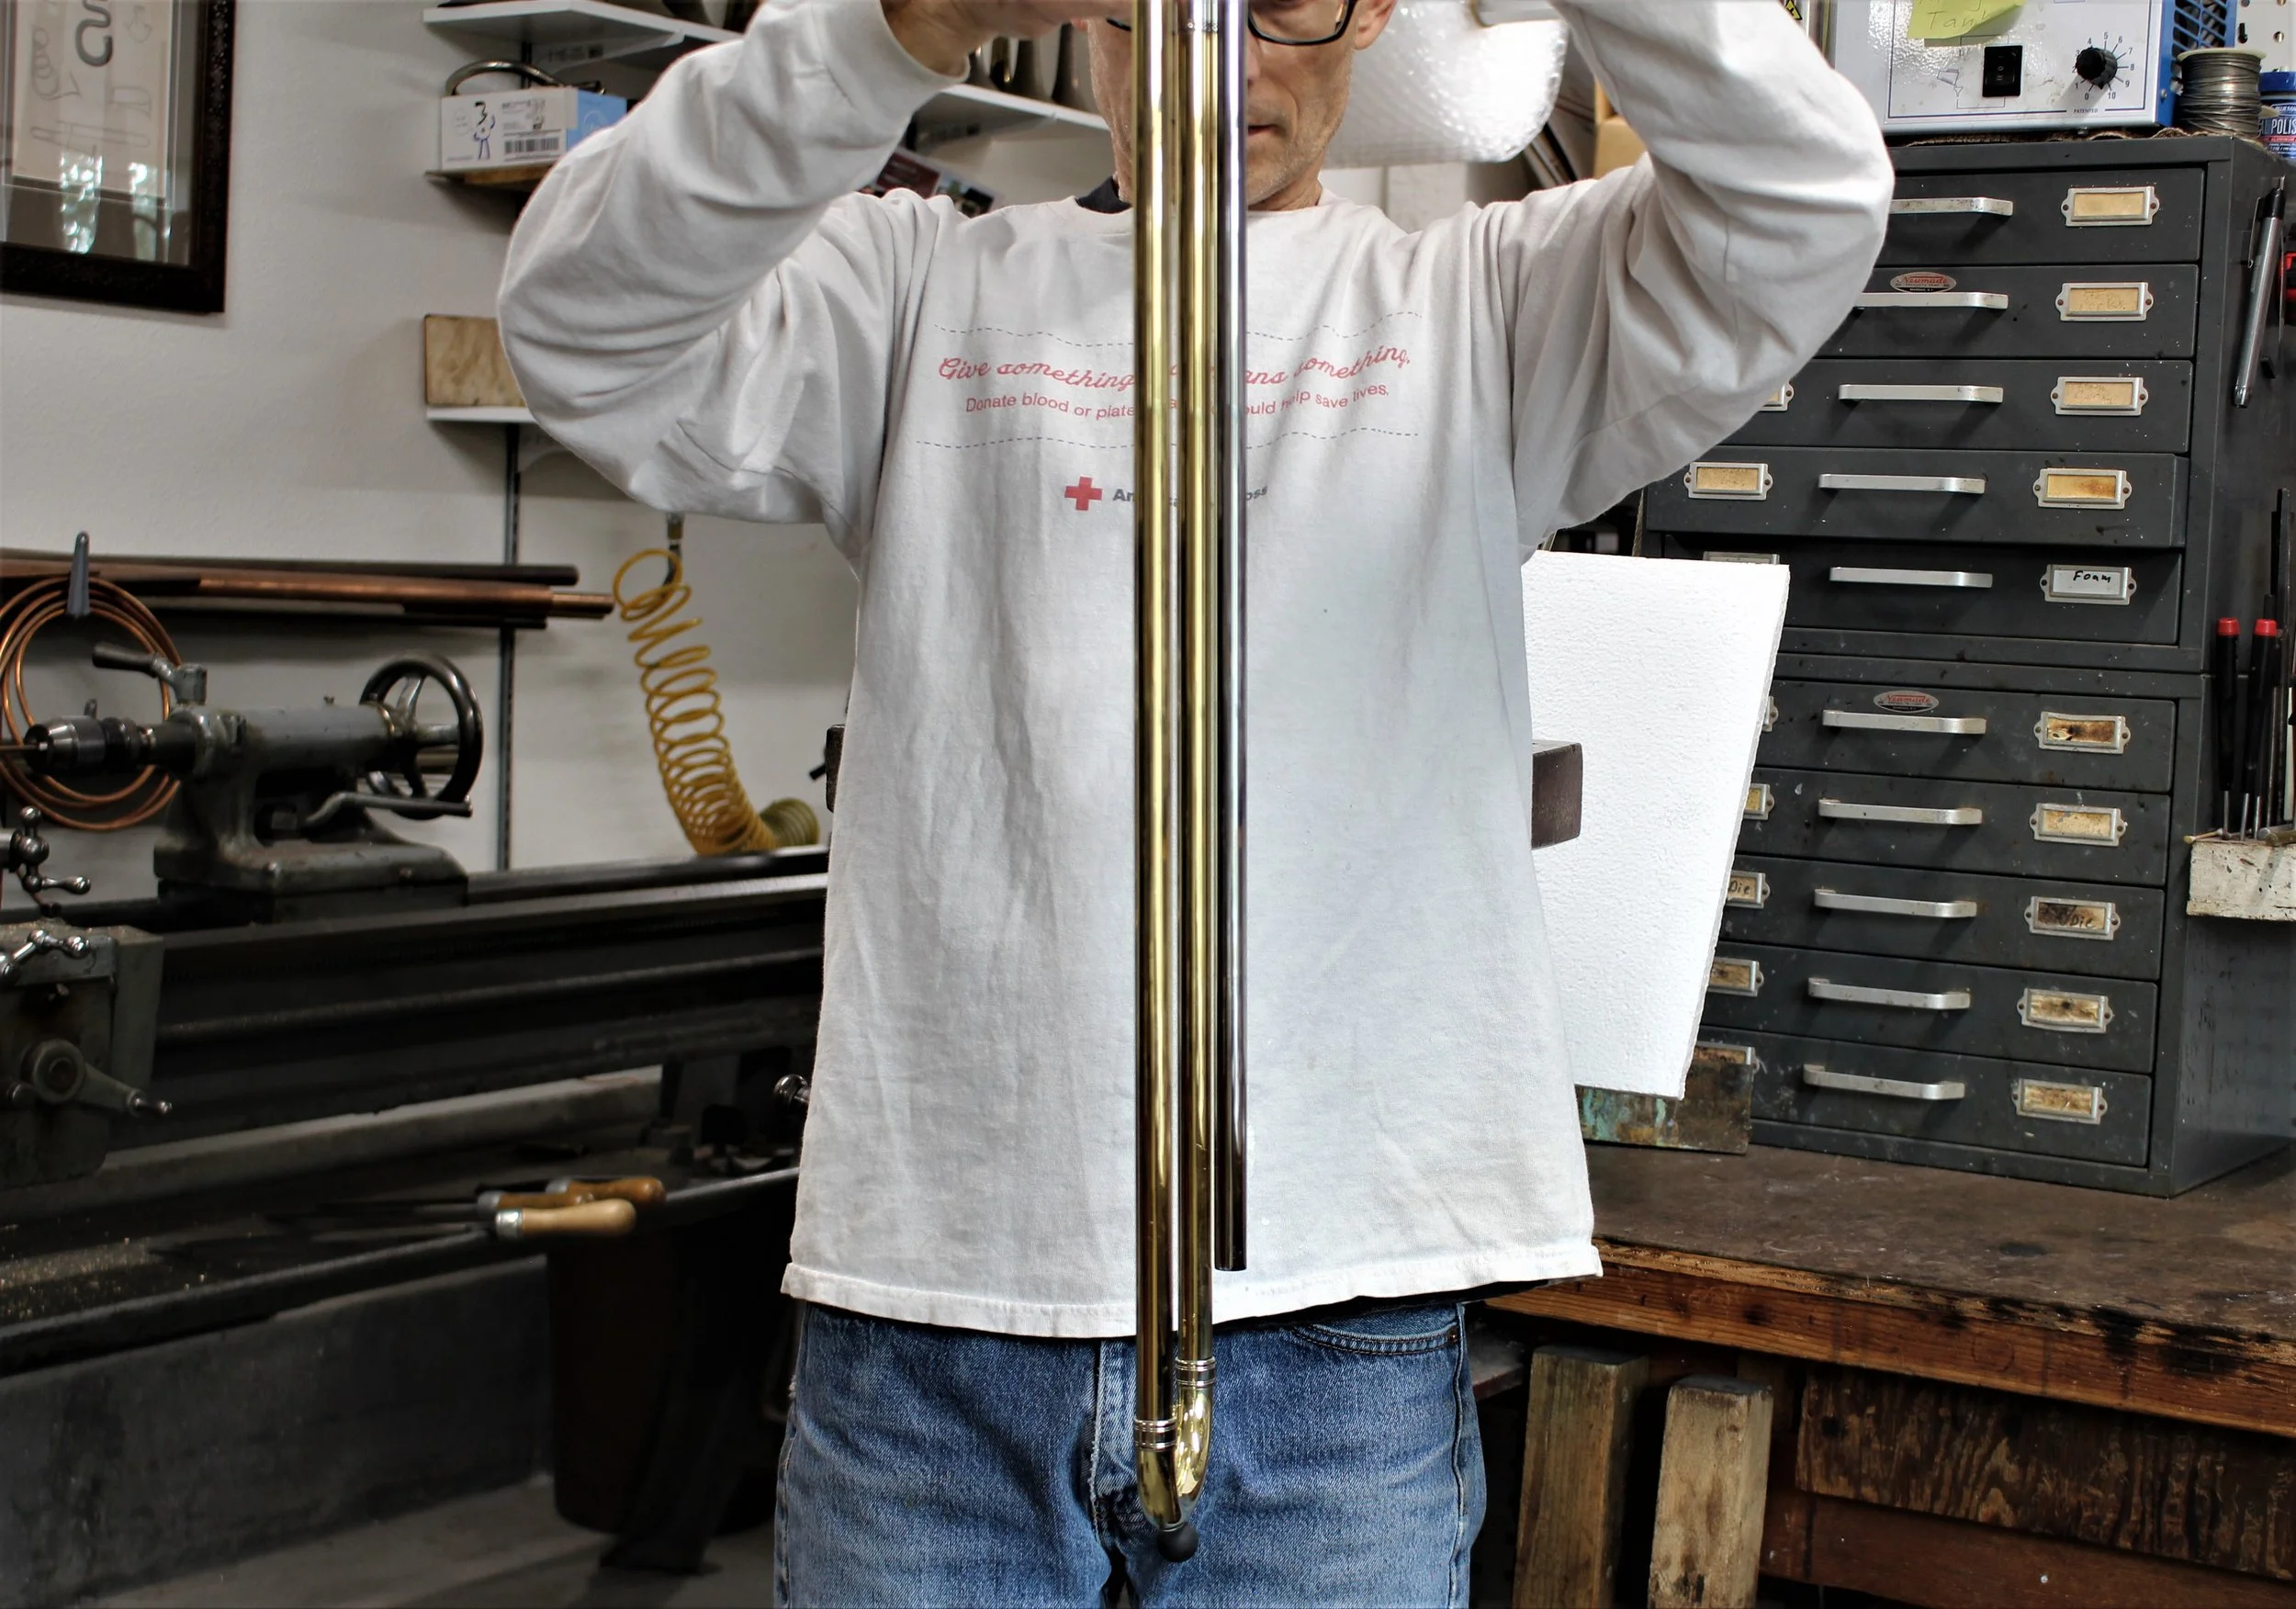
Checking alignment between inside and outside tubes.
Then I check how well centered each inside tube is in its outer tube. The center of each mating pair needs to be as close as possible to that of the others for the best slide action. If this indicates that the assembly is too wide or narrow, heat the brace socket of the inside slide to melt the solder and adjust this. Be sure to check this while the outside assembly brace is at the same temperature as the inside. The hotter brace will shrink in length when cooled by enough to spoil the slide action. This process usually takes some trial and error. After this, check the alignment of the tubes again and repeat the steps above until all dimensions are as close as possible.

Checking if inside tubes are centered in outside assembly.
Now, remove the old washer/bumper from the cork barrel. The last photo shows a simple tool for removing the old washers. These can be purchased from the repair supply houses, but I like to make them in a variety of diameters. Replace with a new washer made of felt, cork or rubber with the right thickness to align the slide lock. This can also take some trial and error if you don’t have the washer supplied by the manufacturer of the slide. Repair/straighten the waterkey and replace the cork and the end guard rubber bumper and the job is done.

Tool for removing cork or felt from cork barrels.
You may be surprised, like I was, how one trombone player is perfectly satisfied with a slide that barely seems movable and the next seems to be impossible to satisfy, no matter how perfect his slide action is. I recommend that you take the time to learn to satisfy the most fussy customer. Make the same effort with every job that you do, regardless of the standards of the owner of the instrument. Perhaps, most of these jobs could be done to a much lower standard, but there is great satisfaction to be had in knowing that you do the best work possible.